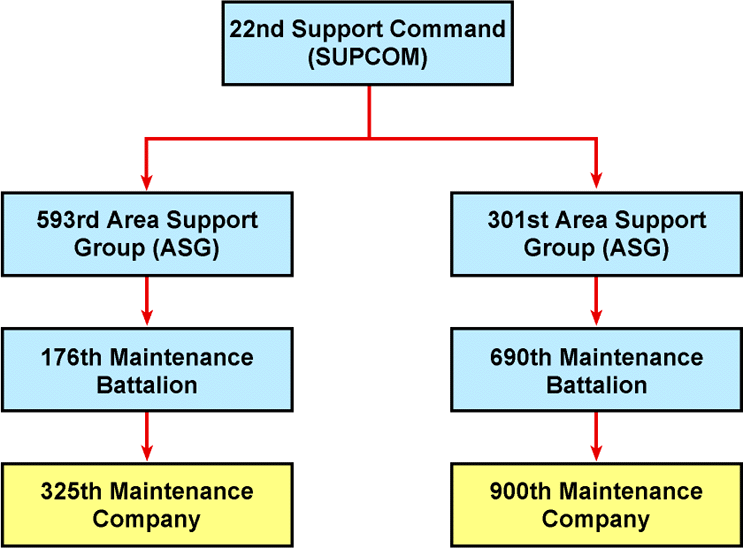
Figure 3. Command relationships of units involved
| First Page | Prev Page | Next Page | Back to Text |